I love to look at projects on other blogs and get ideas. I found one that seemed simple and fool proof. At least it worked for Stephanie. See her cute project here: Holiday Coasters Tutorial
I decided I wanted to simplify her idea and not try to cut out a stencil, or paint the tile. My plan was to purchase some glazed white tiles, take some scrapbook paper, and then mod podge sets of four coasters for each teacher plus some for a friend.
My son wanted no part of the crafting. He knows. He has done projects with me before. I sat him down and asked him about his teachers. He has 4 male teachers this year. Men don't usually even use coasters but I thought, if I made them specific to their interest, they may at least like them. So, I pried some information out of my son about hobbies, interests, subjects taught etc for each teacher. I convinced him to go with me to the scrapbook store and choose paper. One liked old trucks. No paper with trucks. One was into competitive pistol shooting. No paper with pistols or any type of gun. One liked to run. You guessed it. Nothing! No running shoes, no running.

I should have stopped at this point. Two hours later, with my son whining loudly we left the store with some alternatives. Next was Home Depot for the tiles, and a roll of cork (self adhesive, I thought that would save time too). I was going to buy felt but didn't want to make another stop.

We went home and I gathered up supplies:

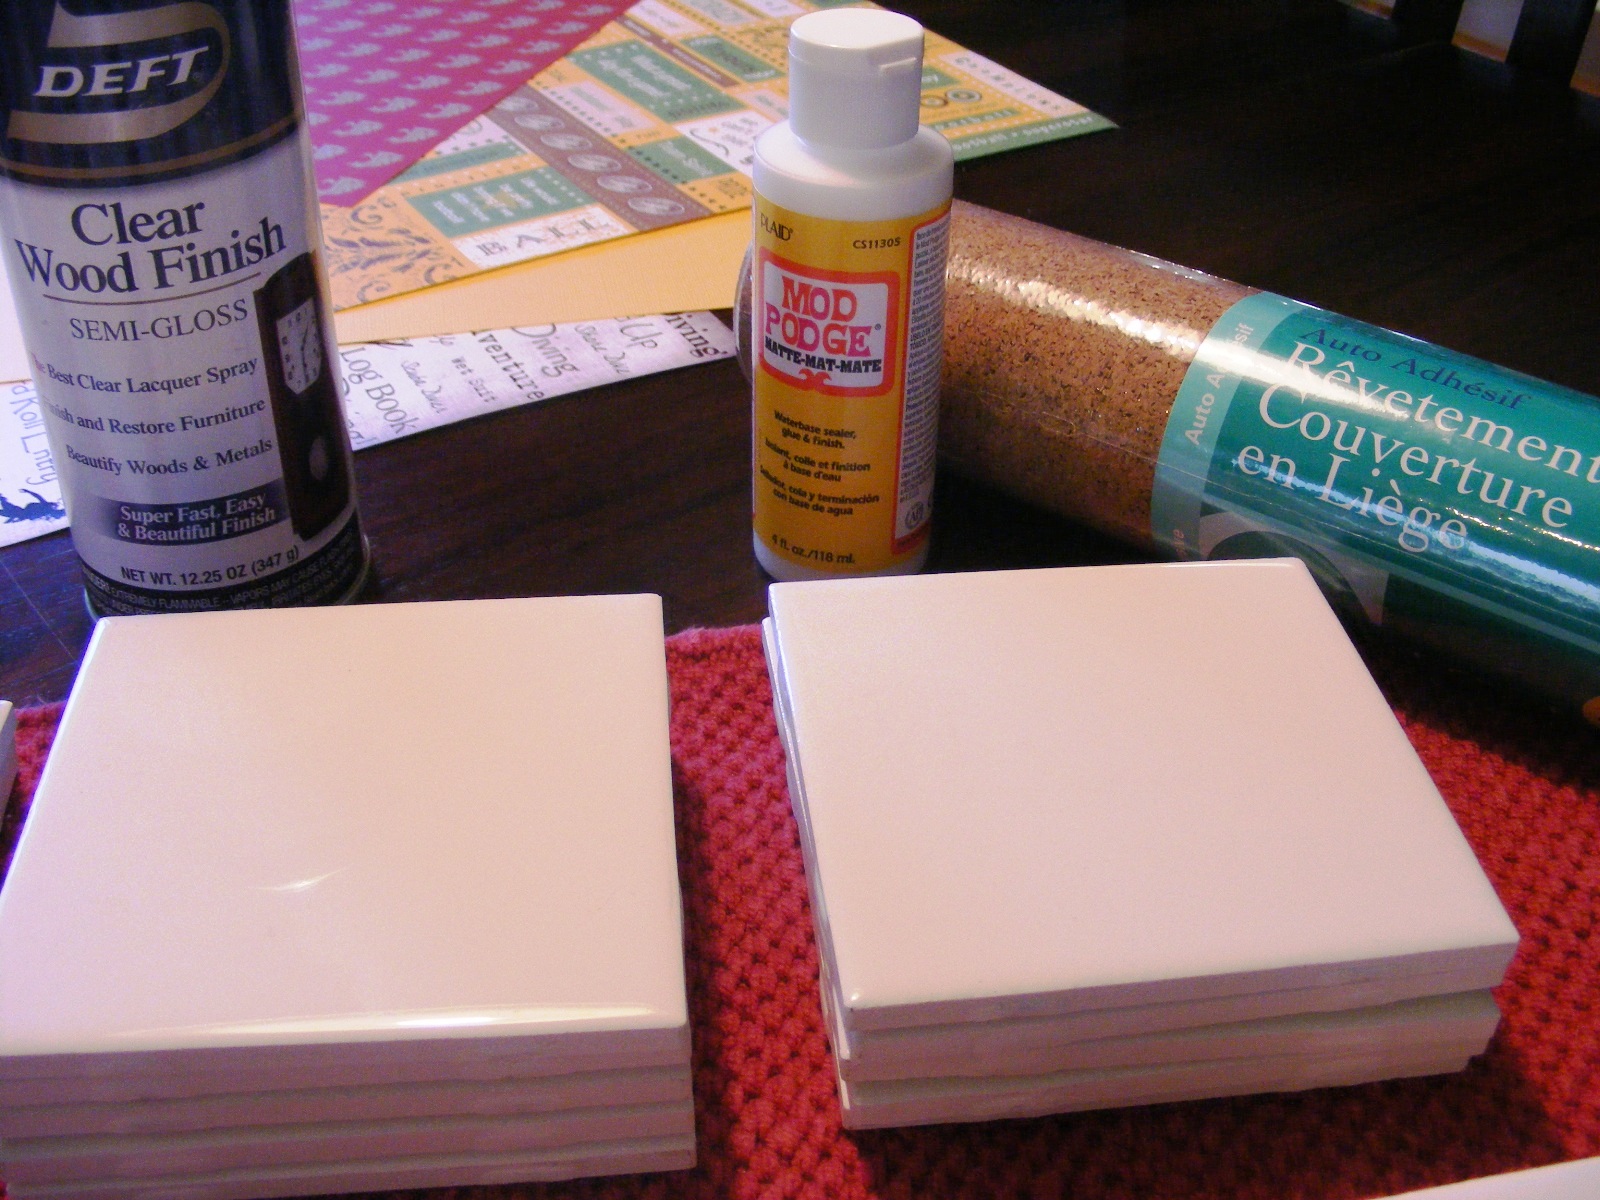

I turned the 12 x 12 paper over and measured 4 inches across and down and then used my scrapbook cutter to cut the strips. This will give you 9 squares (picture already has one strip cut off). Somehow, even with measuring, mine didn't all come out the same size! I know yours will. Anyway, the tiles measure 4 and 1/4 inches so I made it 1/4 smaller to fit easily with no overhang.

I laid out all the squares to figure out which 4 would look best.


I put a light coat of Mod Podge directly on the tile and then placed the paper on and smoothed it out. I then put another coat of mod podge on top of the paper and waited for it to dry. I got alot of wrinkles and air bubbles that I wasn't able to get out. So I redid several coasters. Good thing those papers yeilded 9 squares is all I can say!
I learned a couple of things: use card stock. How people can manage to do this with napkins is beyond me! I could barely do it with regular paper! Once you put the paper on and mod podge over it, you get air bubbles and wrinkles. You can "work them out" with your finger, but the 'long' ones tend to turn into a hard 'line' wrinkle and then you are stuck. If the paper gets dry or you rub too hard, you tear it. Don't ask how I know this.
Doesn't show very well but this one has really long set in wrinkles on the lower left
look closely by the word LOVE. I took about 5 pictures and this is the best I got to show!

Second, to minimize the air bubbles, put your mod podge on the tile, lay the paper down and press it firmly all around the edges. Let it dry for a few minutes BEFORE putting modpodge on the top of the paper! While this doesn't eliminate wrinkles, it greatly reduces them! Especially if you are using card stock!
Third, Don't multi-layer! It just doesn't work very well. You can see this on the MATH coasters, where I put card stock, stickers and die cuts. It is ok, but not smooth.
Fourth, Even if the coaster has set overnight, you can put it in a sink of hot water and dish soap and soak the paper off! Try it again and again. Why would you want to do this you ask? hmmmm I just know that I did...
Once the mod podge has dried, spray them with a spray sealer! This will help to seal them so they don't stick to the cup! ha!
Purchase pre cut felt dots and stick them on! Do not do the self adhesive cork, it doesn't work. It will not stick even if you put hot glue on the self adhesive cork! I guess this is because the bottom of the tile is uneven. I was able to use small squares of cork on the corners and they stuck fine on SOME of the coasters. For unknown reasons, for about 10 of these, I had to use super glue and the cork. My fingers were glued together, to the glue tube, and to the cork by the time I was done! Does this sound like fun yet?

FAIL!
pay no attention to the grocery list and the almond box.
My kids were making cookies at the same time to add to the fun!

Lastly, Do NOT stack them, even if they have dried for an hour or so, wait at least 24 hours! I did this, got up the next morning, and some of the tiles were 'wet' again! aaarrrgggghhhh!!!
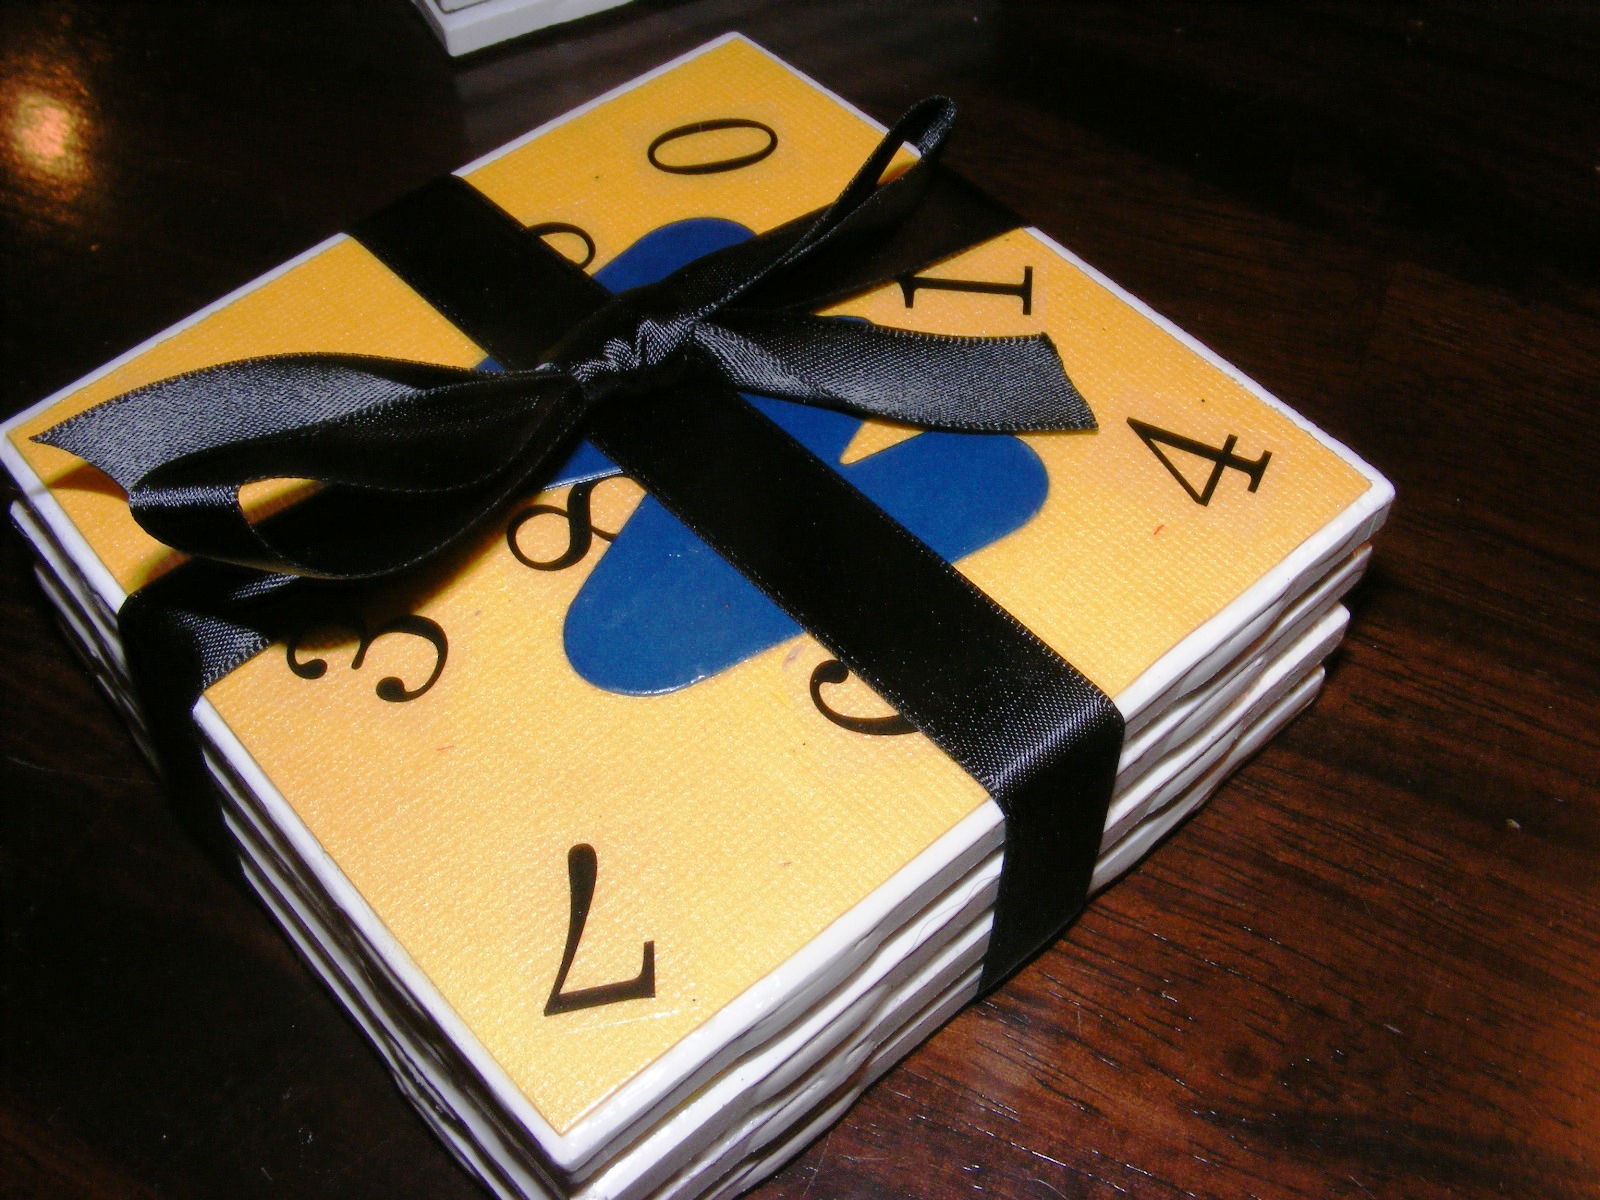
Once I redid some of these, got the cork or felt on the bottom, and sprayed the sealer, I got some ribbon and tied them up, and put them in gift bags with a cute ornament. I dropped my son off in front of the school this morning with all 6 bags to deliver!
Ready for the finished project?
For the female PE teacher I went with a feminine look

For the male teacher who coaches college foothball on the side

I did two sets of these for 2 male teachers who are strong Washington State Cougar fans.

For the male English teacher who likes to Scuba dive

For my girl friend

For the female Math Teacher
All ready to go in the gift bags~


So, makes you want to run out and get the supplies huh? Actually I think they turned out pretty cute and I am sure you won't have the same trouble. This would be nice to do just one or two sets but it was a mistake for me to wait until the last minute and then do 7 sets! Live and learn right?
Linking up at : Between Naps on the Porch - http://www.betweennapsontheporch.blogspot.com/
The DIY Showoff http://thediyshowoff.blogspot.com/
Tales from Bloggaritaville http://lbratina.blogspot.com/
Paisley Passions http://paisleypassions.blogspot.com/
Remodleholic http://www.remodelaholic.com/2010/12/remodelaholics-anonymous-51-blog-link.html


3 comments:
Love your detailed process for the coasters - they aren't as easy as people think! Although I do have to take issue with your Washington State coasters, I'm a UW grad. :D Kidding!!! Happy Holidays.
I understand!
I start project that you THINK are simple
The next thing you know
Days have gone by.
and you are still questioning yourself????
I am starting one on Friday
Watch my blog for good results or days I will work on this!
Still love your Christmas tree
Sue
They look cute but sound like a pain! I did a similar project with paint and my sons' handprints--no wrinkles!
Post a Comment