

The seat fabric was dirty and the cushion was pretty flat. Once this was removed I noticed that it was missing a support brace for the seat. This probably contributed to weakening the joints. I enlisted my husband to cut and mount a new brace and we reglued and clamped the leg joints. We took out the screws and put wood putty and sanded.

Next, came some sanding and primering of the entire piece. I used Kilz's primer and it was the super sticky, non-water soluable type which led to some interesting attempts to remove the primer. Somehow, the primer got on my nose and almost inside the nostril ( I know what you are thinking and NO I DID NOT)! I finally had to scratch it off, leaving a sore, red spot! LOL.... Tip: get the water soluable KILZ... You will be much happier in the end!


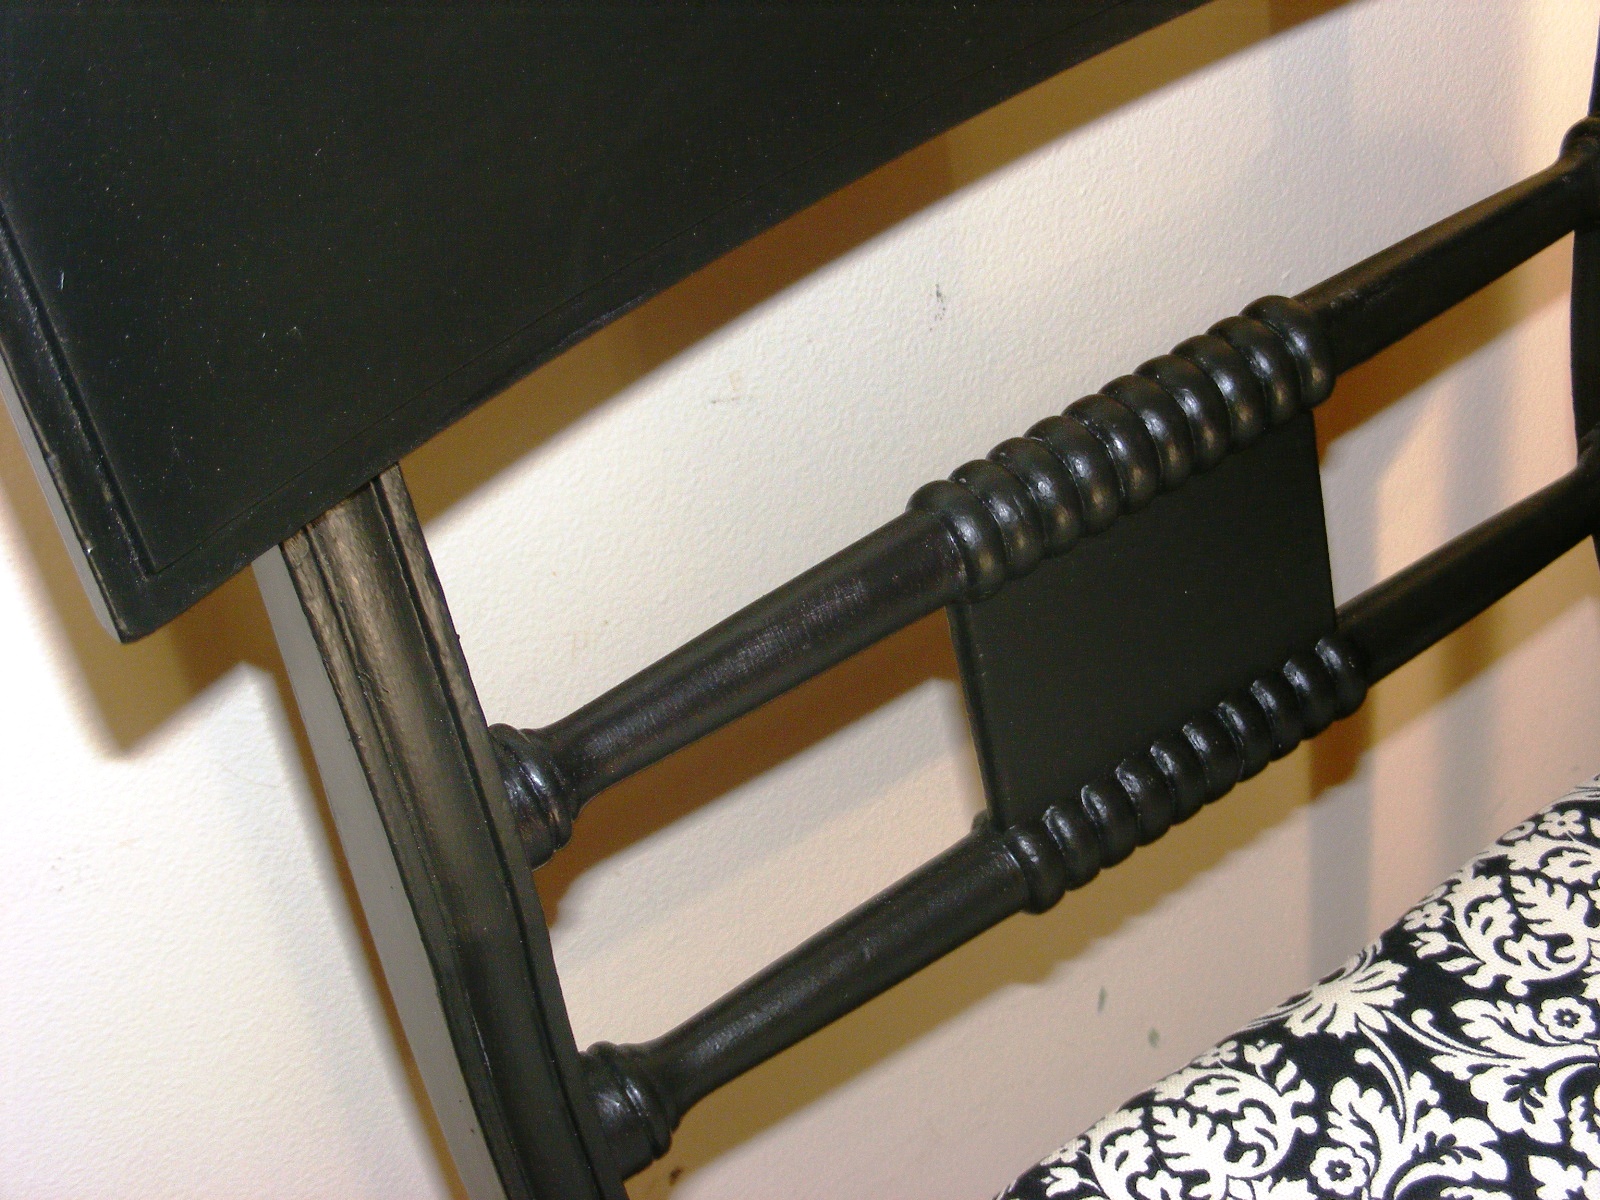
The seat was stripped down to the plywood, I replaced the foam cushion, covered it with batting, and fabric and stapled it all in place.


It is now very comfy, and clean. Her classic lines show nicely.


There are some nicks and dings that have been embraced and painted over. She is done! A classy little chair ready for a new home!


I'm linking up to:
Sunday Showcase at Under The Table and Dreaming - http://www.bystephanielynn.com/
Sew Crafty Saturday at Sew Chic and Unique - http://sewchicandunique.com/2010/09/sew-crafty-saturday/
Cottage Instincts - http://cottageinstincts.blogspot.com/


12 comments:
I'm really impressed with the first-class work done on this chair. It's interesting to think that it will probably continue on for another 80-100 years until someone new falls in love with the classic style and lines and decides to re-do it yet again. You should tape a small photo of the original on the bottom of it & write your remodel date and name under the seat board. That would add some interesting history.
You did a great job!
Come on over to my house and help me with mine :)
Instead of me working on a table and chair set today I am reading a book???
Congrads on the job well done
Sue
Nice job! I have a chair I plan to do ... some day! :)
Excellent post and love all the photos. Which room did you put it in?
Thanks guys! Sheila, I love that idea! Sue and ennadoolf just dive in, it isn't as hard as you think it will be! : D
Hatched, I have it upstairs in my bedroom at this point but it is for sale in my shop! Wish I had a larger house so i could keep some of this stuff!
What a cute little chair! I love how you restored it.
great job!!
LOVE this chair!!!!!
Totally impressive well done the chair turned out beautifully.
I'm hosting a link up party Sew Crafty Saturday over at Sew Chic and Unique and would love it if you stopped by and linked up.
Mayya @ Sew Chic and Unique
Oh I LOVE that print! Turned out beautifully:)
Visiting from justsewsassy.com
Very nicely done. Classy is a good description for this makeover!
Love the fabric - great job!
Post a Comment